If your calendar runs on campaigns and quarters, a Kilimanjaro booking can look deceptively simple: choose a route, buy flights, turn up fit. The reality is more operational. Kilimanjaro is a non-technical high-altitude trek to 5,895 m, where pacing, acclimatisation time and team systems matter more than raw fitness.
This guide is written for marketing professionals who want a time-efficient, decision-ready view of what to expect trekking Kilimanjaro: what the days feel like, how routes differ, how to prepare in 6–10 weeks, how to spot altitude problems early, and what the logistics and costs typically include (with ranges and assumptions).
The Real Difficulty Level: It’s Not Technical, It Is High-Altitude
Kilimanjaro doesn’t require ropes, crampon technique or climbing experience on standard routes, which is why it’s often described as a trekking peak. That framing is true—but incomplete. The Kilimanjaro trek difficulty level comes from three factors that compound: altitude (thin air reduces performance), cumulative fatigue across multiple days, and the long summit push that usually starts around midnight.
For first timers, the most important mindset shift is this: success is less about “being strong” and more about being process-led. Guides will repeat “pole pole” (slowly, slowly) because a steady, conservative pace supports acclimatisation. If you treat the trek like a sprint, you often pay for it later with headaches, nausea, poor sleep and a forced descent.
Expect to be capable of walking for several hours on consecutive days, often 5–7 hours on standard stages, with a far longer summit day that can run 10–15 hours of movement depending on route and group speed. You do not need to be an ultra-runner; you do need to be comfortable being mildly uncomfortable, outdoors, day after day.
- Non-technical doesn’t mean easy: altitude is the main stressor
- Fitness helps, but route length and acclimatisation days help more
- Your best ‘performance metric’ is steady pace plus symptom honesty
- Summit day is the outlier: longest hours, coldest conditions, most fatigue
The Myth That Gets Busy Professionals Caught Out
Routes and Itineraries: Choosing Like a Planner, Not a Dreamer
Most Kilimanjaro treks run 6–9 days on the mountain, plus at least two hotel nights (one before, one after). When people ask “which route should I choose?”, they’re often really asking which trade-off they’re making between time, comfort, crowding and acclimatisation.
Below is a practical Kilimanjaro routes comparison (Machame vs Marangu vs Lemosho plus Rongai and the Northern Circuit). Distances, camp styles and schedules vary by operator, but the strategic differences are consistent: longer and more gradual itineraries tend to produce better acclimatisation and a calmer experience; shorter routes concentrate risk into fewer nights at altitude.
Use the recommendations at the bottom as a starting point, then validate the exact Kilimanjaro trek itinerary your operator runs (number of nights above ~3,000 m, whether it includes an acclimatisation hike, and which high camp you use before summit night).
- Machame: popular ‘camping’ route; good scenery; commonly 6–7 days; busier
- Lemosho: longer, quieter start; commonly 7–8 days; strong acclimatisation profile
- Marangu: huts rather than tents; commonly shorter; comfort in rain, but faster ascent profile
- Rongai: drier northern approach; often quieter; useful in wetter seasons
- Northern Circuit: longest; most acclimatisation time; often best for cautious planners
Route picks by priority
Acclimatisation and Altitude Sickness: What to Watch, What to Do
High altitude affects everyone differently. You can be very fit and still struggle, because acclimatisation is a physiological adaptation—not a training effect you can fully ‘bank’ at sea level. Expect some combination of reduced appetite, disturbed sleep and slower hiking pace as you gain height. Good operators build acclimatisation into the plan via extra days and the “hike high, sleep low” pattern (a short afternoon hike to a higher point, then sleeping lower).
You should know the common Kilimanjaro altitude sickness symptoms and the escalation red flags. Mild acute mountain sickness (AMS) can include headache, nausea, dizziness, fatigue and poor sleep. Serious, potentially life-threatening conditions include HACE (high-altitude cerebral oedema: worsening confusion, inability to walk straight) and HAPE (high-altitude pulmonary oedema: breathlessness at rest, persistent cough, chest tightness, crackling breath sounds). The correct response for worsening symptoms is to stop ascending, tell your guide and descend if advised. This article isn’t medical advice; it’s a prompt to take symptoms seriously and choose an operator with clear protocols.
Most reputable teams run daily checks (often oxygen saturation and symptom questions) and will decide whether you continue, rest, or descend. Your job is to report honestly early, not to ‘push through’ for pride. The summit is optional; getting home healthy is not.
- Hiding symptoms to ‘stay in the game’
- Treating painkillers as a fix rather than a signal
- Assuming fitness protects you from altitude illness
- Booking a short route because it ‘fits the diary’
- Plan for acclimatisation: favour 7–9 day itineraries over rushed climbs
- Hydrate and eat little-and-often; appetite commonly drops higher up
- Sleep may be patchy; don’t panic—tell your guide if symptoms worsen
- Escalation signs (confusion, breathlessness at rest) are descent triggers
Simple decision rule
Day-to-Day on the Mountain: Routine, Camps, Toilets and Food
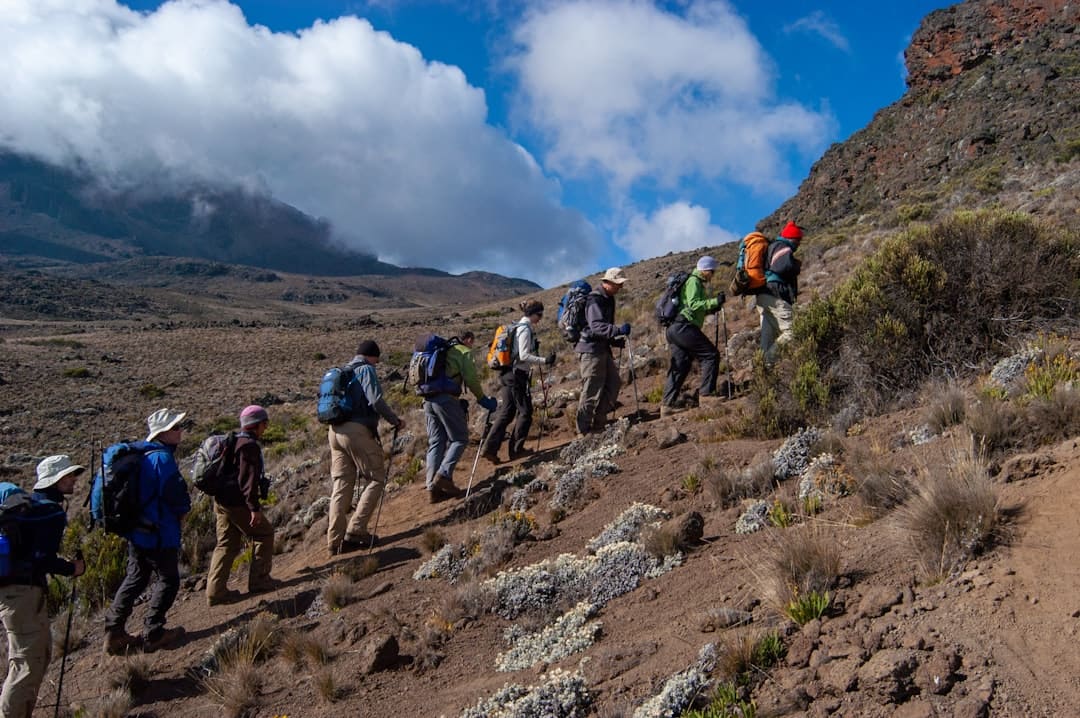
A Kilimanjaro trek is operationally closer to a multi-day field project than a ‘holiday hike’. Expect early wake-ups (often around 6–7am), packing your duffel for porters, a hot drink, breakfast and a briefing. You walk at a measured pace with breaks, then arrive at camp to find tents already up. Many itineraries include an afternoon acclimatisation walk before dinner and an early night.
Camp conditions vary by route and camp type, but the fundamentals are consistent: it’s cold at night at altitude, space is limited, and hygiene is basic. Some routes use huts (notably Marangu), while most are camping. Toilets are usually shared facilities at camps; many groups add a private toilet tent for comfort and hygiene, which is worth asking about when selecting an operator—especially if you’re used to controlled environments and tight schedules.
Kilimanjaro food on the mountain is typically simple, high-energy and carb-forward: porridge or eggs for breakfast, soup and bread or a hot lunch, then a dinner like pasta, rice, stew and vegetables. Tea, coffee and snacks are common. The challenge isn’t usually availability; it’s keeping intake up when you’re tired, cold or mildly nauseous. Pack easy-to-eat options you know you can tolerate (and keep some snacks accessible, not buried in your duffel).
- Wake: hot drink, wash water (often), breakfast, briefing and health check
- Hike: ‘pole pole’ pace, layered clothing changes, regular breaks
- Camp: tea/snacks, possible acclimatisation hike, dinner, early sleep
- Facilities: basic camps, limited washing, shared toilets unless upgraded
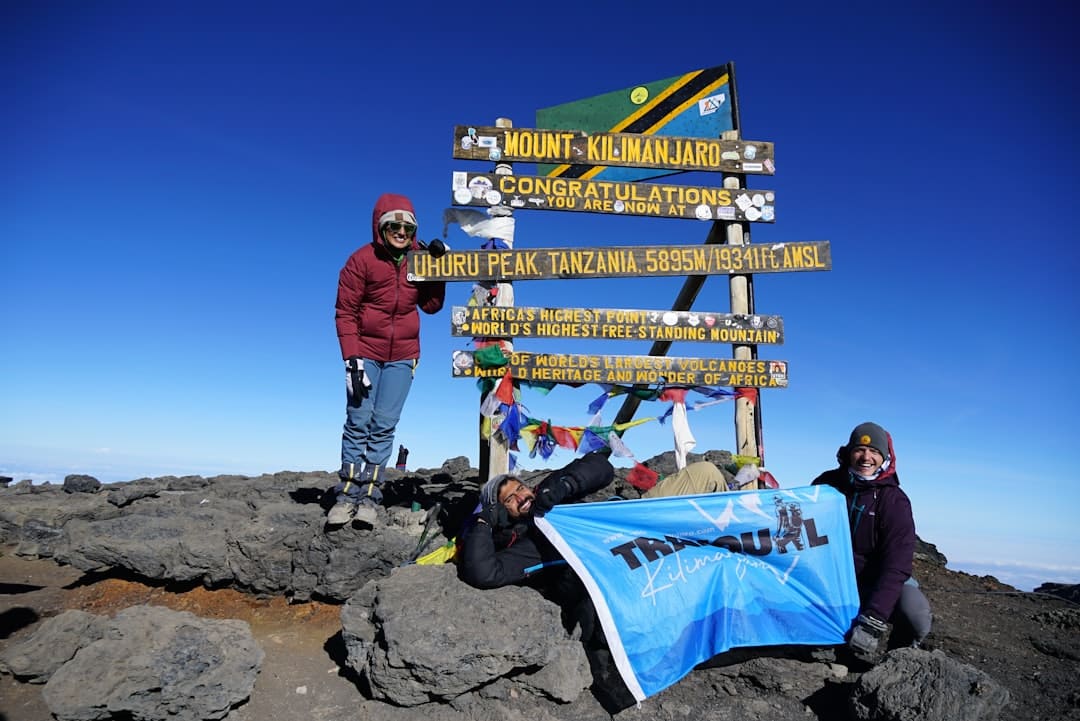
Summit Night: Timing, Temperatures and the Mental Game
Kilimanjaro summit night what to expect: you’ll usually be woken around 11pm at high camp, drink something warm, layer up, and start hiking around midnight. The goal is to reach the crater rim around sunrise and then continue to Uhuru Peak, before descending to a lower camp the same day. This pattern is used because firmer ground and clear morning weather can help, and because it positions you for dawn on the summit.
Conditions are typically cold, windy and dusty, with a slow shuffling pace in darkness. It’s common to feel that progress is incremental rather than dramatic. Temperature ranges vary by season and wind, but expect well below freezing near the summit at night; some operator guidance cites roughly -7°C to -29°C at Uhuru Peak overnight. This is why your layering system, gloves, insulated bottle and head torch matter as much as your fitness.
The mental challenge is staying calm and consistent when tired: breathing rhythm, micro-goals (next rest stop, next switchback), and accepting that appetite and morale dip. If you’re used to working long launches, treat summit night as the ultimate endurance brief: control inputs (pace, layers, fuel, hydration), monitor signals (symptoms), and let your guide manage decisions on timing and turnaround.
- Wake around 11pm; start near midnight; hike for hours in darkness
- Cold and wind are the main stressors; bring serious gloves and layers
- Pace is slow by design; overtaking rarely helps acclimatisation
- Expect a long descent after summiting—save energy for the way down
Turnaround is a success metric
Preparation That Actually Pays Off: 6–10 Weeks, Packing Essentials, Timeline

A Kilimanjaro training plan for beginners should be realistic for a working week: consistent aerobic base, strength for descents, and time on feet. The objective isn’t peak speed; it’s durability—walking for hours, then doing it again tomorrow. If you can do steady weekend hikes with a loaded daypack, plus two to three shorter sessions midweek, you’re building the right capacity.
Your Kilimanjaro packing list essentials should prioritise warmth, layering and keeping key items dry. Gear mistakes usually show up as cold hands, wet clothing, blisters or a head torch that fails at the worst moment. Many operators provide tents and group equipment, but personal clothing and sleep system choices are on you. If you’re renting kit locally, confirm sizing and quality early, not the day before.
A time-efficient pre-departure timeline keeps decision load low. Book with enough lead time to get vaccinations/advice, insurance, and to break in boots. Confirm what your fee includes (park fees, accommodation, transfers), tipping expectations, and how the operator handles medical checks and evacuation planning.
- Train the downhills: quads and knees matter on summit descent
- Practise ‘eat and drink even when you don’t feel like it’
- Treat kit like a system: base/mid/insulation/shell, not random layers
- Do one full dress rehearsal hike with your daypack
- Weeks 1–3: 3–4 sessions/week (brisk walking, stairs, light strength); weekend hike 2–4 hours
- Weeks 4–7: add longer hike 4–6 hours; include hills; practise layering and pacing
- Weeks 8–10: back-to-back weekend hikes; focus on recovery, sleep and foot care
- Packing essentials: broken-in boots, blister care, head torch + spare batteries, insulated layers, waterproof shell, warm gloves, sun protection, dry bags
Fast operator questions to ask
Budget, Logistics and Porter Welfare: What’s Typically Included (and What Isn’t)
Kilimanjaro cost breakdown and permits can be confusing because many line items are bundled by operators. Park fees (set by the national park authority), guide and porter wages, camping or hut fees, meals, and local transfers are typically wrapped into a package price. Flights, visas, tips, personal gear, and hotel upgrades are often extra. Prices vary widely by season, route length, group size and operator standards—so use ranges and interrogate what’s included rather than chasing the lowest headline figure.
As a working assumption for 2026 planning, many travellers see total trip costs (operator package plus flights, tips, a few hotel nights and incidentals) landing in the low-to-mid thousands in GBP, with significant variation. Instead of relying on a single number, build your own ‘all-in’ figure using your likely flight costs and the operator’s inclusions list, then add contingency for extra hotel nights if travel shifts.
Guide and porter tips are a normal part of Kilimanjaro tipping etiquette and are often pooled and distributed by role at the end of the trek. Norms vary by operator and group size, so ask for written guidance before you go. Also ask about porter welfare standards (load limits, fair pay, food and shelter). Responsible operations are not just ethical; they tend to be better organised, which reduces risk for you.
- What’s often included: park fees, crew, meals on mountain, tents, transfers to/from trailhead
- What’s often extra: flights, visa, tips, personal gear, hotel upgrades, snacks, gear rental
- Ask for a clear inclusions list and tipping guidance in writing
- Choose operators who can explain porter welfare policies and safety protocols
Lowest price can be a risk signal
Safety, Operator Selection and Insurance: Decision Rules for Adults
Kilimanjaro safety tips start with choosing the right operator. Look for evidence of structured routines: daily health checks, clear turnaround times, emergency oxygen availability, first-aid training, and a credible evacuation pathway. Ask who makes the call to descend (and whether guides are empowered to act without ‘client permission’). Operational clarity is what you’re buying, not just a permit to hike.
Insurance matters because the biggest financial risks are the ones you can’t predict: illness requiring descent, trip interruption, or emergency evacuation. Policies vary heavily, so confirm it covers high-altitude trekking to at least 5,895 m, and that it includes evacuation and medical treatment. Don’t assume a standard travel policy includes that altitude. If you’re trekking with colleagues or as a corporate team, align on decision-making: who has authority to stop, how you’ll communicate, and how you’ll handle different paces without pressuring individuals.
Finally, recalibrate expectations on Kilimanjaro safety tips and success rate. You may see success-rate figures quoted online, but they vary and are often not independently sourced. What you can control is your risk posture: pick an itinerary with enough acclimatisation, go slowly, stay warm and fuelled, and treat symptom reporting as non-negotiable.
- Assuming your work medical cover applies on the mountain
- Treating evacuation as ‘someone else’s problem’
- Choosing an operator that can’t answer safety questions clearly
- Letting group pressure override symptoms
- Operator must explain: health checks, oxygen, evacuation plan, turnaround rules
- Insurance must cover trekking altitude to 5,895 m and evacuation costs
- Team rule: no-one is shamed for descending; safety overrides summit goals
- Success is partly route design: longer itineraries generally improve outcomes
If you want to know what to expect trekking Kilimanjaro in one sentence: it’s a well-supported, non-technical trek where the mountain sets the pace, and your job is to follow the process. The best climbs feel almost boring in their discipline—slow steps, regular checks, layered clothing changes, early nights, and a summit attempt that rewards patience.
Approach it like a high-stakes project with variable conditions: choose a route that buys acclimatisation, prepare your body for repeated long days, and pick an operator with mature safety systems. Do that, and the experience is less about bravado and more about clear thinking at 5,000 metres—something marketing leaders are already trained to value.